How Do I Create A CSS File: Your Complete Guide

Sidharth Nayyar
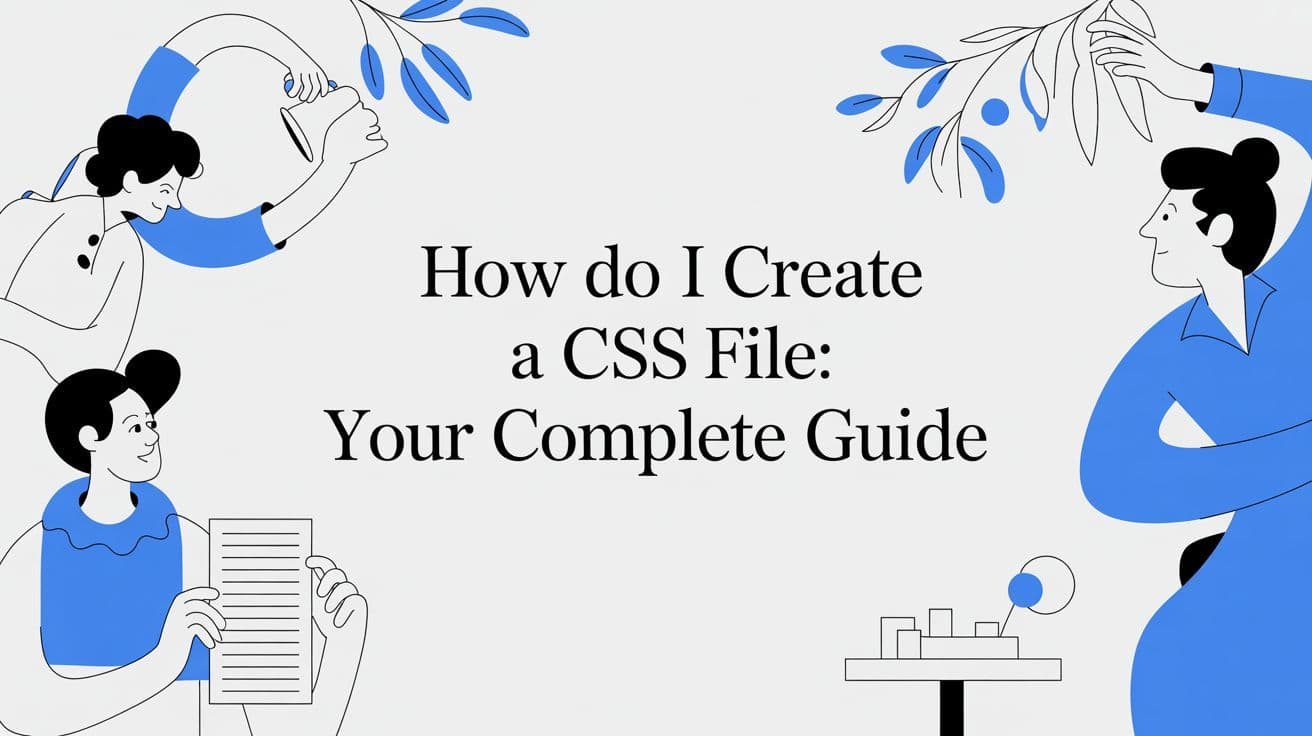
Create a CSS file by opening a plain text editor, saving a new file with a .css extension such as styles.css, and linking it in your HTML <head> with <link rel='stylesheet' href='styles.css'>. That workflow has been standard since the W3C’s CSS Level 1 recommendation on December 17, 1996, and external CSS is still how over 97.5% of websites manage styling today.
If you're staring at a raw HTML page right now, you're in the normal starting place for every front end developer. The page works, but it doesn't feel finished yet. CSS is what turns that structure into something readable, usable, and polished.
A lot of beginner tutorials stop at “make the text red.” That gets a style on the page, but it doesn't teach good habits. A solid first stylesheet should make your site easier to maintain, easier to grow, and easier for people to use, including people navigating with keyboards, zoom, or assistive technology.
From Plain HTML to a Styled Web Page
An unstyled page is useful because it exposes the structure of your markup. Headings are headings. Lists are lists. Links are links. Then CSS steps in to control presentation without mixing style rules directly into your HTML.
That separation matters. It keeps your templates cleaner, makes changes faster, and gives you one place to control typography, spacing, color, layout, and interaction states. The practice of saving styles in a .css file goes back to the first official CSS specification, and it became the standard way to separate content from presentation (understanding CSS stats and usage).
The three steps that matter
The practical workflow is simple:
- Create a blank text file in your project.
- Save it as something like
styles.css. - Link it in the
<head>of your HTML file.
If you're asking how do i create a css file, that really is the core answer. Everything else is about doing those steps carefully enough that the file loads, stays organized, and supports real users.
Practical rule: HTML should describe meaning. CSS should control presentation. When you keep that boundary clean, every future change gets easier.
Why experienced developers avoid inline styling
Inline styles work for quick experiments. They don't work well for real projects. Once styles are scattered across multiple HTML files, every update becomes repetitive and error-prone.
External CSS also lines up better with semantic markup. If your HTML already uses meaningful elements, styling them from a dedicated stylesheet becomes much more predictable. If you need a refresher on that relationship, WebAbility.io's guide to semantic HTML is a worthwhile companion read.
Accessibility starts here too. A CSS file isn't just decoration. It's where you define readable text, visible focus states, spacing that reduces visual clutter, and color choices that don't lock people out. Building those decisions into the first stylesheet is much easier than trying to retrofit them later.
Creating Your First Stylesheet File
A CSS file is just a text file. That's the good news. You don't need a special design app, a build tool, or a framework to start. You need a plain text editor and the discipline to save the file correctly.
Use the right editor for where you are now
You can create a stylesheet in Notepad or TextEdit. You can also do it in a code editor like VS Code, which is the better long-term choice because it gives you syntax highlighting, autocomplete, file search, and better error visibility.
Here’s a practical comparison.
| Feature | Basic Editor (Notepad, TextEdit) | Code Editor (VS Code) |
|---|---|---|
| Setup | Already available on many systems | Requires installation |
| Writing CSS | Works for simple files | Better for ongoing development |
| Syntax highlighting | Limited or none | Yes |
| Autocomplete | No | Yes |
| File management | Basic | Better project navigation |
| Best for | First experiment | Real project work |
If you're learning, start wherever you are. But if you're going to build more than one page, use VS Code.
Save the file with the correct extension
The biggest beginner mistake isn't writing bad CSS. It's saving the file wrong.
Some editors default to .txt, and that mistake affects an estimated 25% of novice developer setups according to the data cited in this CSS file creation tutorial. If you save styles.css.txt, the browser won't treat it as a stylesheet.
Use this process:
- Choose a clear filename like
styles.cssormain.css. - Use Save As if needed so you can explicitly type the full filename.
- Check the extension after saving because some operating systems hide file extensions.
- Keep it in a sensible location such as the project root or a
cssfolder.
A common beginner folder setup looks like this:
index.htmlstyles.css
Or this:
index.htmlcss/styles.css
Save the file first, then open it again and confirm the name is exactly what you intended. That small check prevents a lot of wasted debugging.
Add a small starter rule
Once the file exists, add a basic rule so you can tell whether it loads:
body { margin: 0; padding: 16px; font-family: system-ui, sans-serif; line-height: 1.5; } That isn't flashy, but it's a good start. It gives the page breathing room and a readable default type stack.
If you want a second layer of confidence before moving on, run your stylesheet through W3C CSS validation for accessibility. Validation won't make your design good by itself, but it helps catch syntax mistakes early.
How to Link Your CSS File to HTML
Creating the file is half the job. Your browser still needs to know where it is.
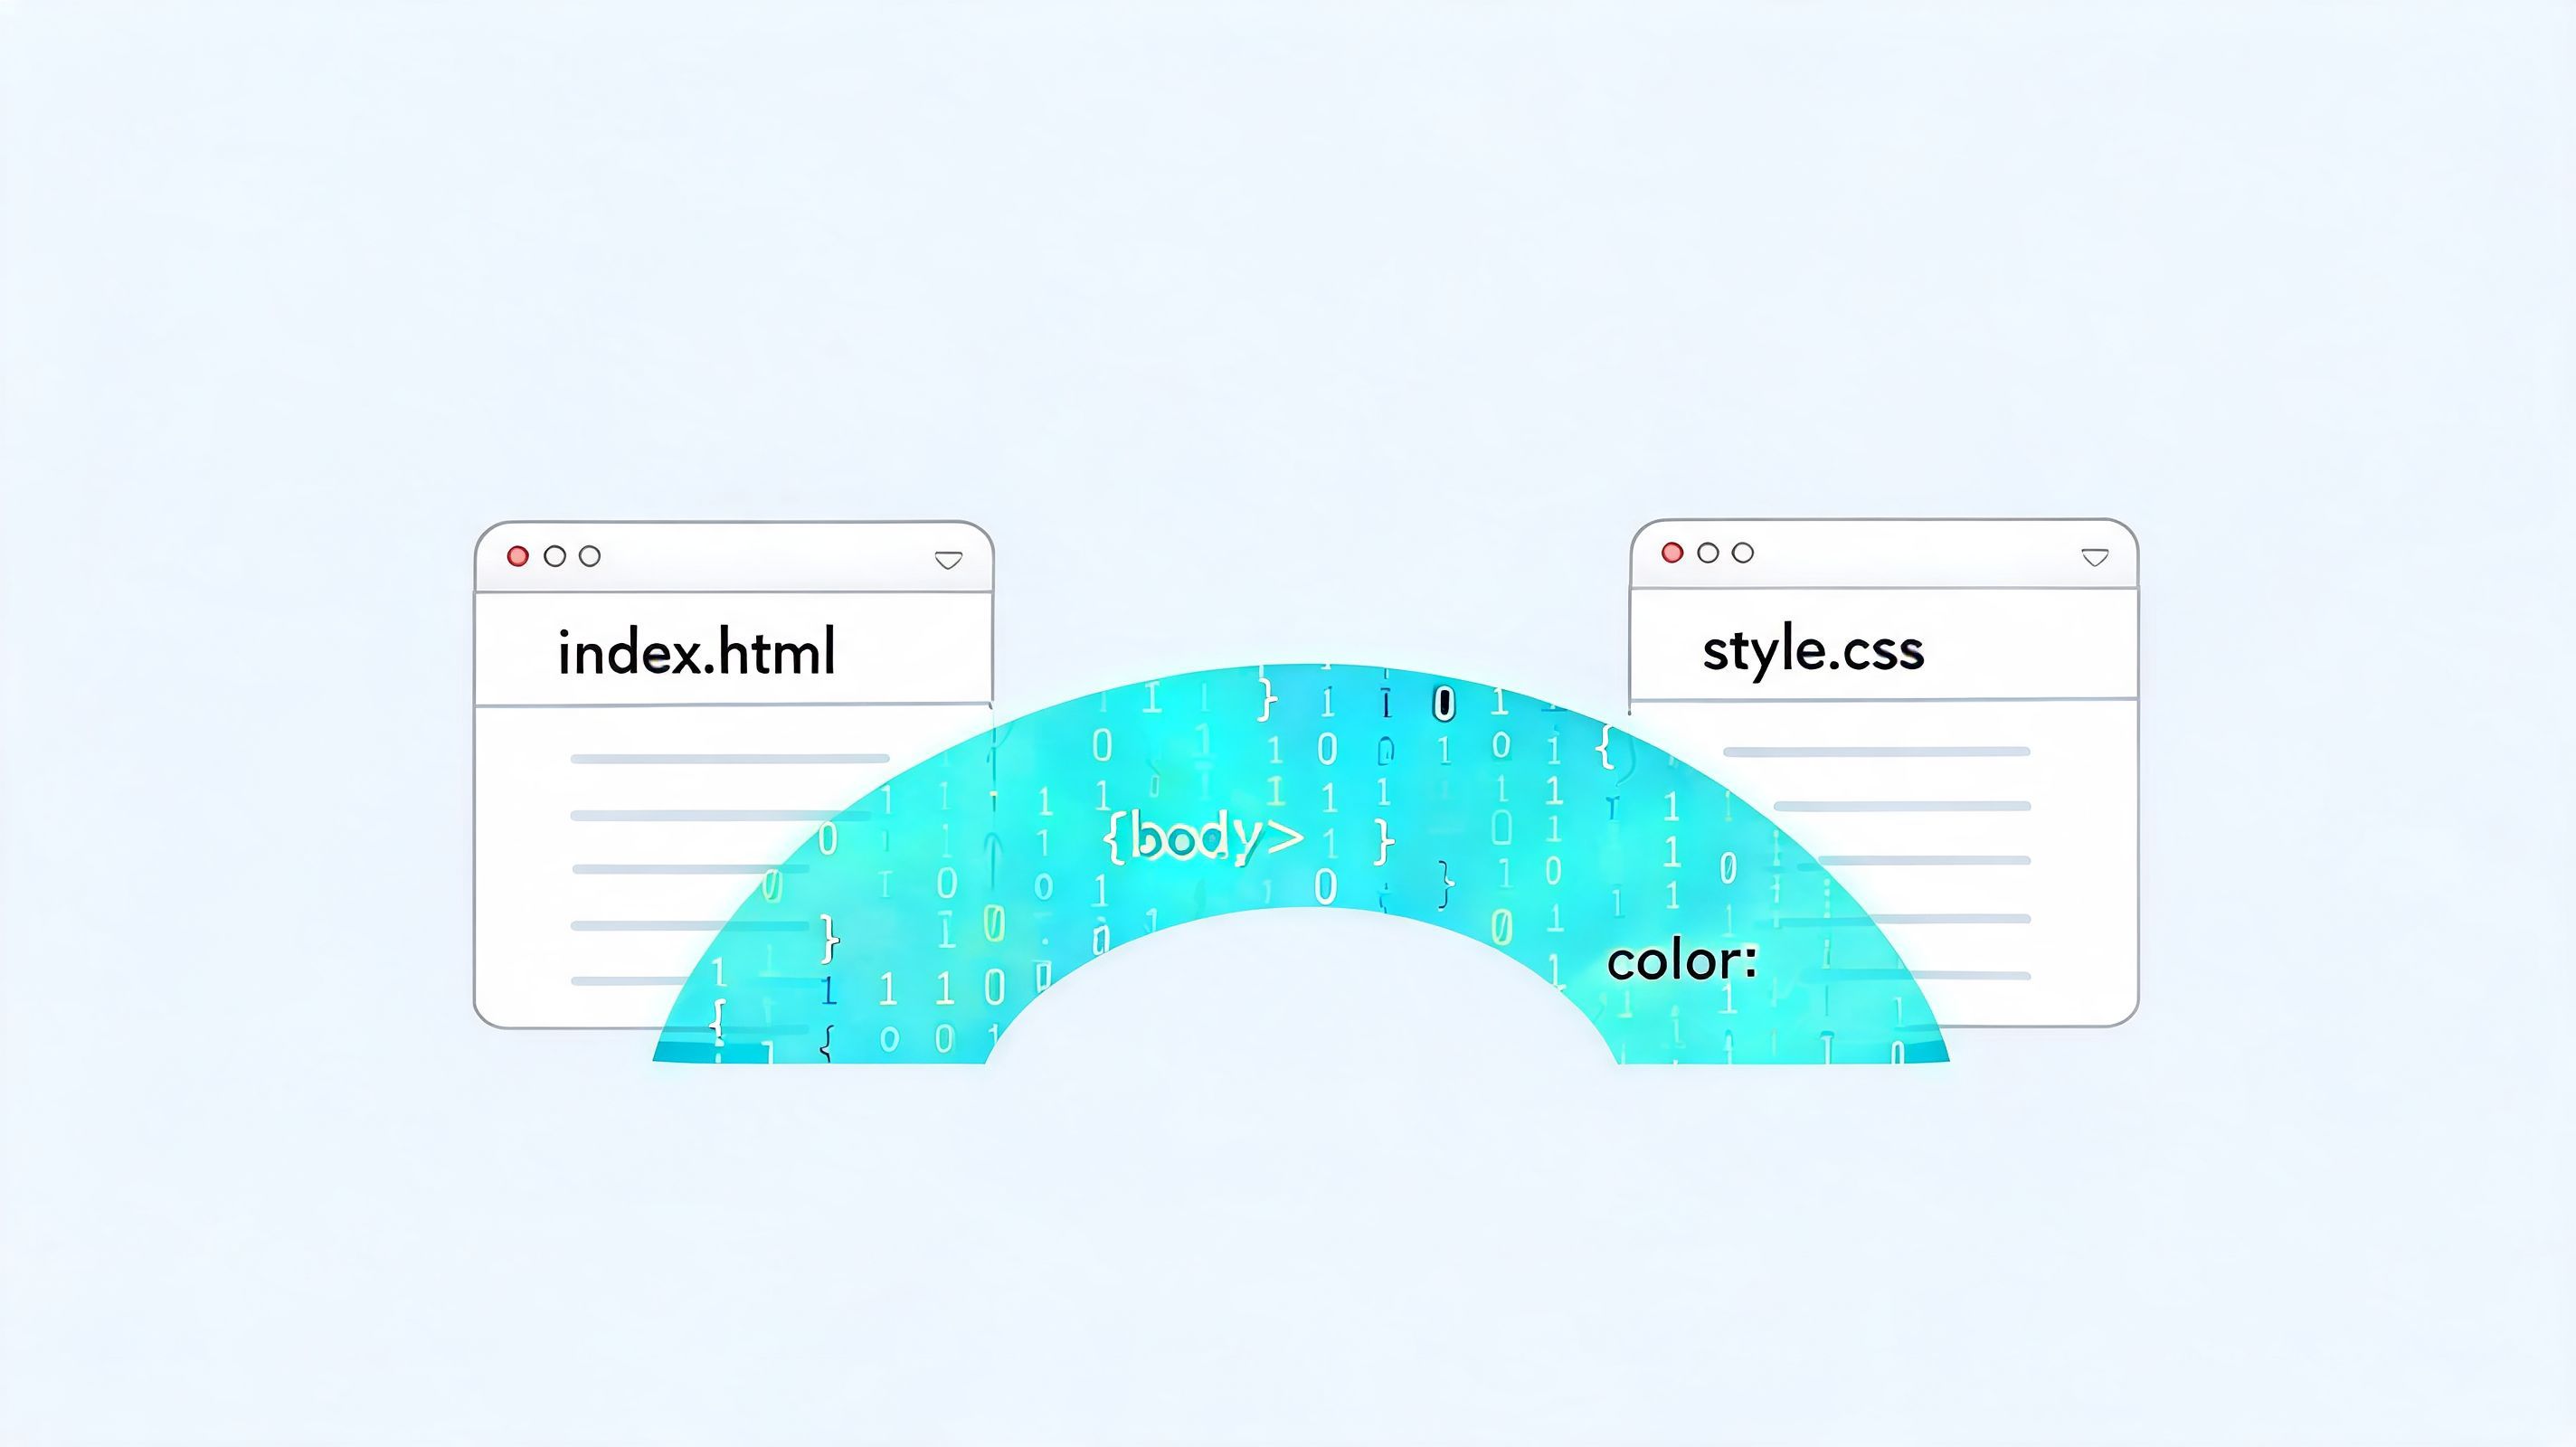
The connection happens inside the <head> of your HTML document. This is the line most developers start with:
<link rel="stylesheet" href="styles.css"> What each part does
rel="stylesheet" tells the browser what this linked file is for. href="styles.css" tells it where to find the file.
If your CSS file lives in a folder named css, the link changes:
<link rel="stylesheet" href="css/styles.css"> If the path is wrong, nothing breaks loudly. The page stays unstyled. That's why path errors trip people up so often.
Use this full example for a basic page:
<!doctype html> <html lang="en"> <head> <meta charset="UTF-8"> <meta name="viewport" content="width=device-width, initial-scale=1.0"> <title>My Page</title> <link rel="stylesheet" href="css/styles.css"> </head> <body> <h1>Hello world</h1> <p>This page now has an external stylesheet.</p> </body> </html> Path mistakes that waste time
Most CSS linking problems come from one of these:
- Wrong filename such as
style.cssin HTML andstyles.csson disk - Wrong folder path when the file sits in
css/but the link points to the root - Wrong extension because the saved file is
.txt - Wrong placement because the
<link>tag was added outside the<head>
One of the quickest ways to understand the pattern is to see it in action:
Once the link is correct, reload the page. If your starter rule changed spacing or fonts, your stylesheet is connected.
Writing Basic CSS with Accessibility in Mind
Most tutorials treat accessibility as advanced work. That's backwards. Your first CSS rules should support readability and keyboard use, because those choices affect every page that follows.
According to the 2025 WebAIM Million report, 96% of homepages have WCAG 2 failures, and low contrast text is the most common issue, as cited in this tutorial discussing first CSS files and accessibility. That’s why the first stylesheet should set a good foundation instead of chasing visual flair.
Start with readable defaults
Begin with the page-level basics:
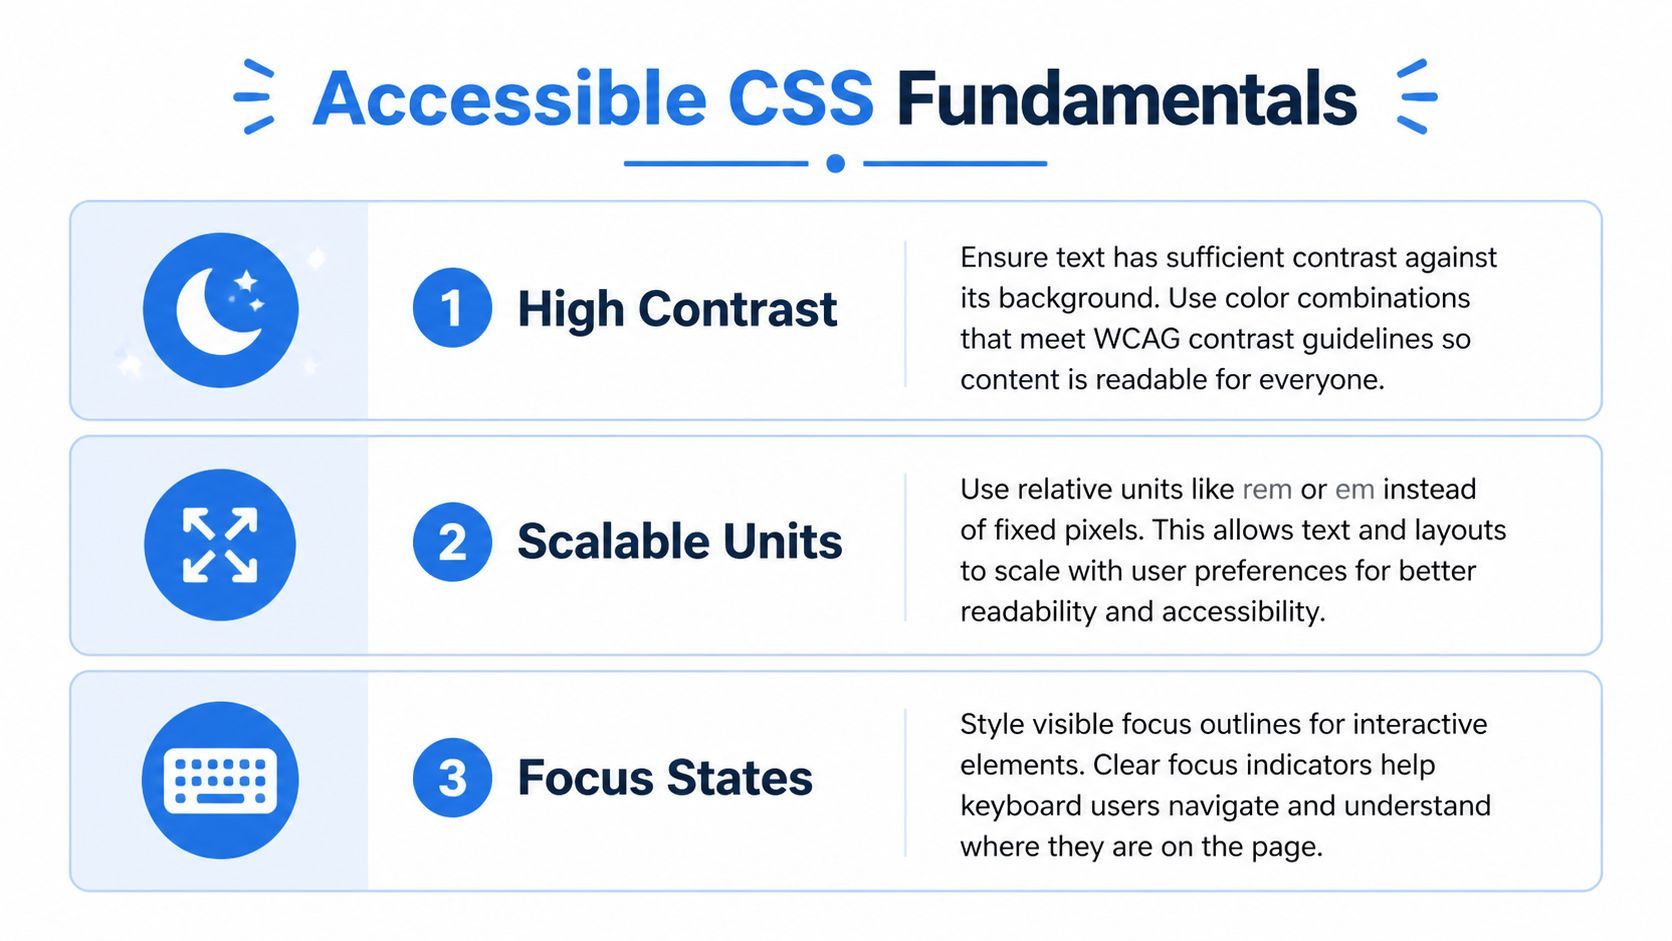
:root { --text-color: #111; --background-color: #fff; --focus-color: #005fcc; } body { margin: 0; padding: 16px; font-family: system-ui, sans-serif; line-height: 1.5; color: var(--text-color); background: var(--background-color); } p { max-width: 65ch; } This gives you a cleaner baseline than a default browser page without making the design rigid. The max-width on paragraphs helps line length stay readable. The custom properties also make later theme changes easier.
Add visible focus styles early
A page that looks fine with a mouse can still be frustrating with a keyboard. If links and buttons don't show a clear focus state, users can lose track of where they are.
Add something explicit:
a:focus, button:focus, input:focus, textarea:focus, select:focus { outline: 3px solid var(--focus-color); outline-offset: 2px; } This is one of those habits junior developers should pick up immediately. It costs almost nothing and improves usability right away.
Good CSS doesn't just make the page look branded. It makes interaction states obvious.
Be careful with color choices
Color is where a lot of early CSS goes wrong. A muted gray on white might look refined in a mockup and still be hard to read in practice.
Check text and background combinations before you settle on them. For a broader review process, this checklist to make your site accessible is useful because it keeps accessibility tied to real implementation decisions, not abstract compliance language.
Typography matters too. Font size, line height, weight, and style all affect readability. If you want to go deeper on those details, there’s more from WebAbility.io on font size and font style choices.
A simple principle works well here:
- Use strong text contrast so content remains readable
- Prefer system fonts at first because they render reliably
- Use scalable units when possible so layouts respond better to user settings
- Style focus intentionally instead of removing outlines
- Keep decorative effects secondary until readability is solid
If you build those habits into your first file, you're not “adding accessibility later.” You're writing better CSS from the start.
How to Test and Refine Your CSS
Writing CSS is one skill. Debugging it is another. The difference between a frustrated beginner and a productive developer usually comes down to how quickly they can inspect what the browser is doing.
Open DevTools with F12 on many systems, or the platform shortcut your browser supports. Then inspect the element you care about. The browser will show you the HTML node, the CSS rules applied to it, and which declarations are being overridden.
Use DevTools like a working developer
When a style doesn't apply, check these first:
- Inspect the element and verify your selector matches the actual markup
- Look at the Styles panel to see whether another rule is overriding yours
- Open the Network tab and confirm the stylesheet loaded successfully
- Edit values live in the browser to test spacing, color, and sizing before changing the file

Live editing inside DevTools is one of the fastest ways to learn. You can test padding, swap colors, or adjust line-height without touching your source file until you're happy with the result.
Add validation and linting to your routine
Once your file gets beyond a handful of rules, manual inspection isn't enough. For enterprise-grade CSS, developers use linters like Stylelint to catch up to 80% of common accessibility and syntax pitfalls before deployment, including insufficient :focus indicators linked to 28% of EU public sector sites failing EN 301 549 in the source cited by MDN’s styling basics page.
That matters because CSS errors often aren't dramatic. A missing brace, a bad selector, or a weak focus style can slip through until somebody tests the page under real conditions.
Field note: If the page looks unchanged after an edit, don't assume your CSS is wrong. First confirm the browser loaded the file you think it loaded.
For color checks during refinement, use a dedicated color contrast checker. It's a practical way to verify text combinations before they spread across the project.
Growing Your CSS and Accessibility Skills
Once you can create, save, link, write, and test a stylesheet, you have the core front end workflow. That's the part many people underestimate. The basics aren't glamorous, but they're what every larger project depends on.
What to learn next
A good next step is CSS custom properties. They make it easier to manage repeated values like colors, spacing, and type scales. After that, media queries are worth learning because they let you adapt layouts for different screens and user contexts.
Responsive and accessible styling usually grows well when you focus on a few themes:
- Consistency through reusable variables and naming
- Readability through better spacing and typographic choices
- Adaptability through media queries and fluid layouts
- Interaction quality through focus states and motion restraint
If you want to experiment beyond the fundamentals, a practical example like this guide to CSS gradient animation can help you practice visual polish without losing sight of structure.
Keep the standard high from the beginning
A junior developer can absolutely create a solid stylesheet on day one. The trick is resisting shortcuts that look fast but create cleanup later.
If you remember one thing, make it this: the answer to how do i create a css file isn't just “save a file and link it.” It's “save a clean file, link it correctly, and write the first rules with maintainability and accessibility in mind.”
If you want help turning those habits into a repeatable accessibility workflow, WebAbility.io gives teams a practical path with scanning, monitoring, reporting, and tools that support ADA, WCAG 2.2 AA, Section 508, AODA, and EN 301 549 efforts at scale. It's a strong fit for agencies, in-house teams, and organizations that want to improve user experience while keeping accessibility work active instead of one-and-done.
Quick Questions
Tap to ask AI about this article